Here’s a teaser for a game I’ve been working on.
I bought my first “real” camera, a Nikon D100, over 10 years ago. At the time it was probably the best camera, feature-wise, you could get without spending close to $10,000 for a professional digital SLR.
While it wasn’t perfect I can say with confidence that it was the single most useful piece of technology I’ve ever owned. Up until the last frame, it took amazing photographs.
If you’re not familiar with SLR cameras you might be surprised to know that you can count on them to stop being able to take photographs at some point. The mechanical portion of the camera simply wears out over a certain amount of shots. Depending on the camera, some can have more shutter acuations than others.
As far as I can tell, Nikon never published the estimated shutter actuations a D100 was capable of. I’ve seen some people suggest between 20,000 to 30,000 total actuations. This shutter life database, as far as I can tell, says it’s more like 50,000.
My D100 had at least 282,012 shutter actuations.
That number is hard to discover - after doing some searching I found out that the number is stored in EXIF data for every photo you take. If you ever reset the firmware, that number starts over. I’ve done that at least once, so in reality I’ve taken more than 282,012 photos - I’d guess closer to the 300k range.
With that in mind, here are the last thousand or so photographs my Nikon D100 captured. What follows is a timelapse of me building an airplane over the course of several nights. The camera was on a tripod feeding what it captured directly to my computer.
The airplane project was nearly complete when the shutter gave up.
You were a good camera, Nikon D100. May your replacement be even half the camera you were.*
*Who am I kidding? For half the price I paid for the D100 I can buy a modern Nikon with twice as many features, 4 times the megapixels, faster shutter/flash sync, less noise in high ISO shots, and a camera that weighs half as much. I’ll miss the D100 for what it allowed me to do for so long, but it’s death is hardly a tragedy.
First of all, what’s a balsa chopper?
Put simply, it’s a tool that allows you to consistently make precision cuts in small pieces of balsawood.
I’ll use the tool to build strong and light weight structures for flying models. It allows for making joints that have perfectly angle points of contact. Making these sorts of joints without a tool like this is difficult, if not impossible to do.
Strong joints require less glue, and less glue means less weight.
Here’s an unglued joint using 1/16” spars that were cut by hand. The gap you see at the top is a problem that’s hard to avoid. It’s there because the cut wasn’t made perfectly square to the spar. I can try sanding it square, but the chances of getting it perfect without reducing the length of the spar are slim.
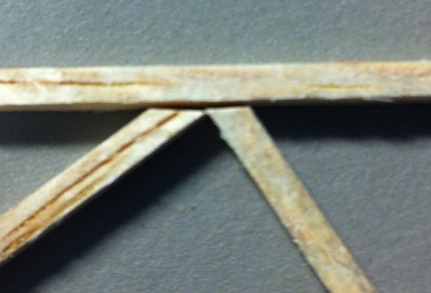
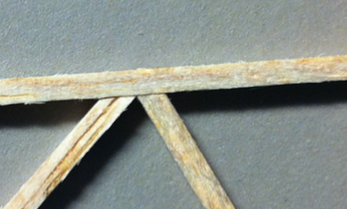
Here’s a very similar joint with spars cut using my balsa chopper. The difference is obvious. It’s easier to get accurate results using the tool than it is to get inaccurate results by hand.
The tool consists of:
While the parts list seems a bit long, the entire thing is pretty simple.
This is probably the third iteration on this design that I’ve done. The first one used no 3D printed parts. It used a C-channel bar that was bolted to a chunk of MDF on one end, with a razor blade screwed directly to the C-channel bar.
The first iteration worked well aside from one annoying flaw: it was too easy for the blade to move side to side. There was too much play where the C-channel bolted to the hinge and very little could be done to fix that.
The second iteration used an all printed handle and skate (sometimes known as 608) bearings in the hinge. Despite using these bearings in my latest iteration, I’m not fully convinced they’re useful. The idea is that provide a solid point to pass an axle through and can be tightly pushed into a 3D printed part. If the axle has no play, and they’re tightly locked in a hinge, then the blade should also have no play.
The problem with the second iteration, primarily, was that I could never make it. Printing a part of that length is actually very difficult to do well.
ABS shrinks as it cools. If the part being printed has enough surface area, or in this case, just length, that shrinkage can cause the print to peel of the print bed. After several failed attempts I gave up.
The current design reduces the amount of plastic used. This reduces the number of attempts needed to get parts that work. It also lets me use the right kinds of materials for the right reasons. A C-channel handle is stronger and less likely to flex than a printed handle would be. It since I have a bunch just lying around, it’s much quicker to put it into use.
Here’s are some photos of the final design:
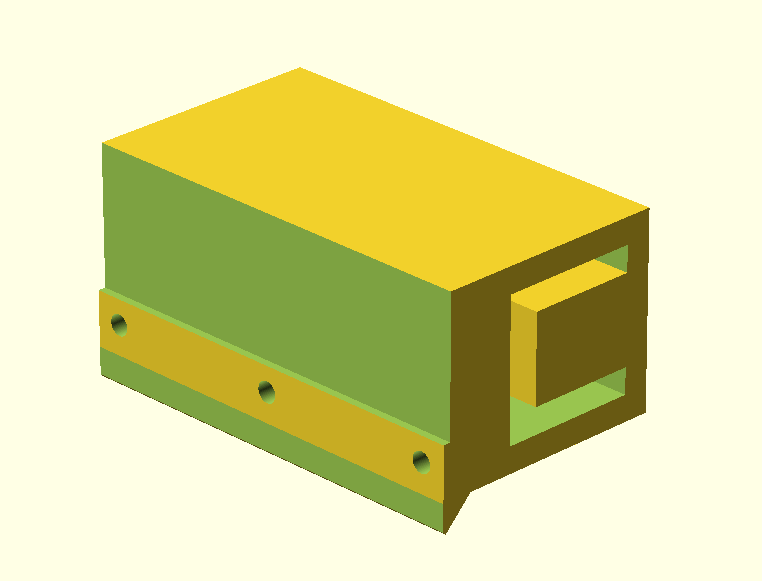
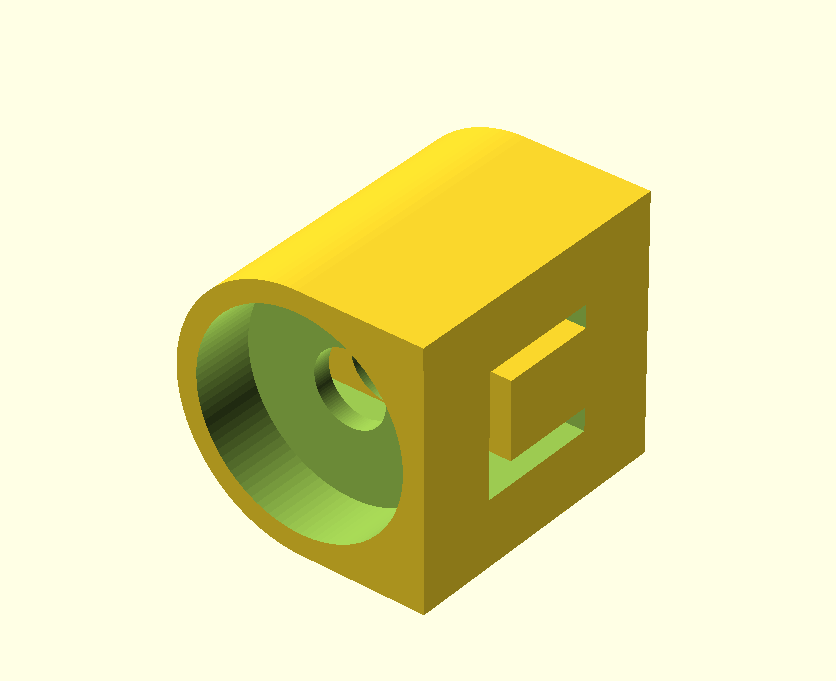
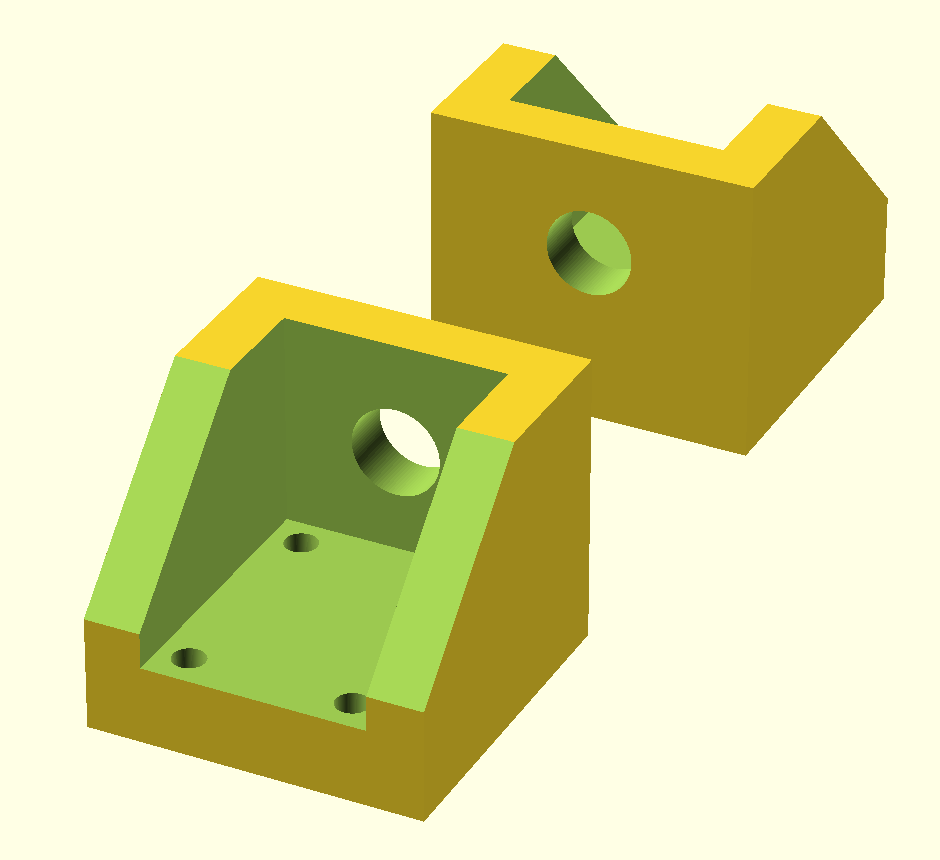
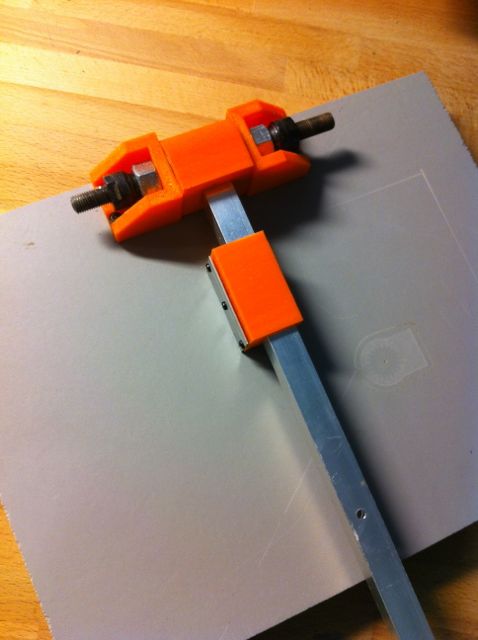
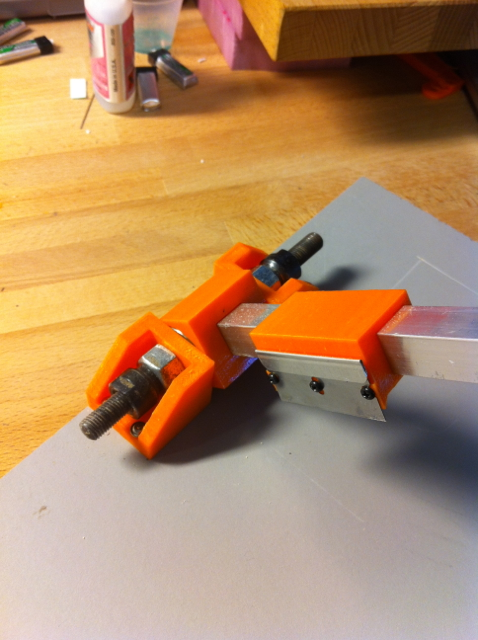
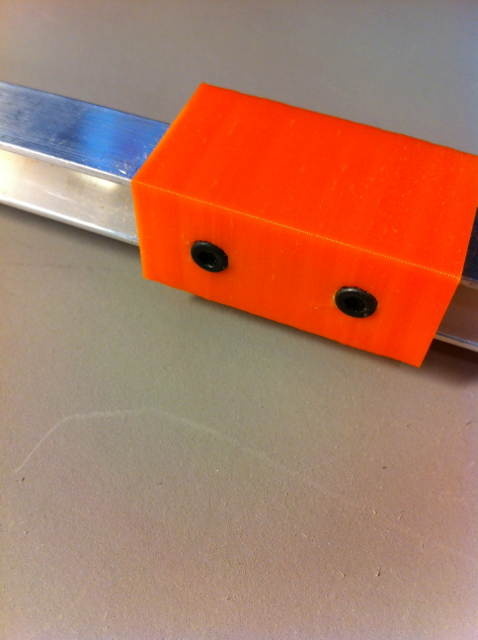
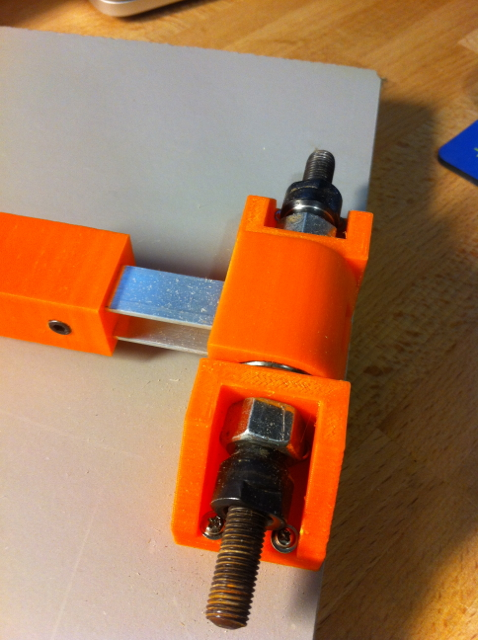
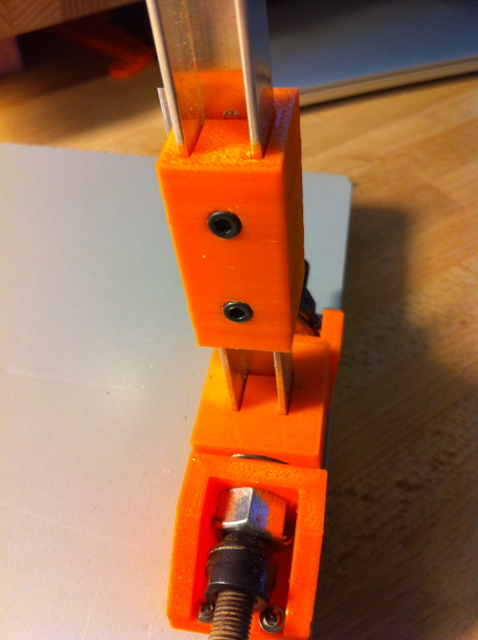
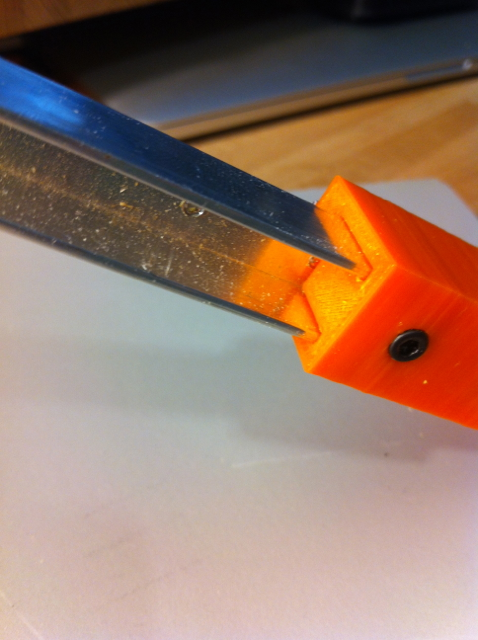
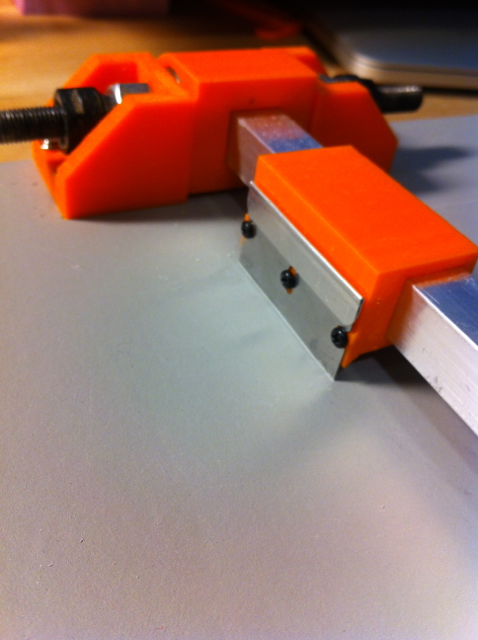
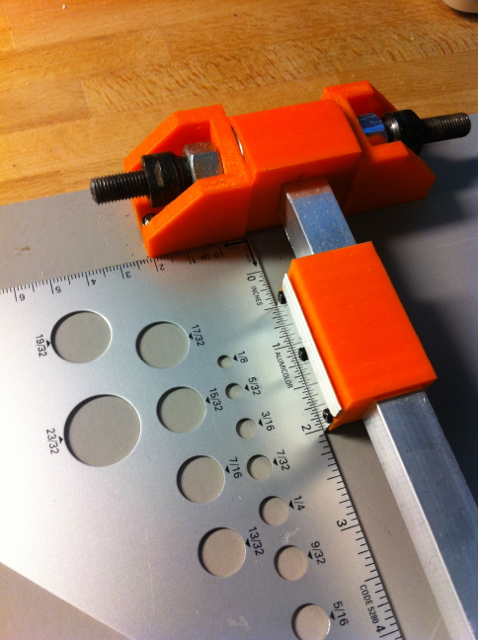
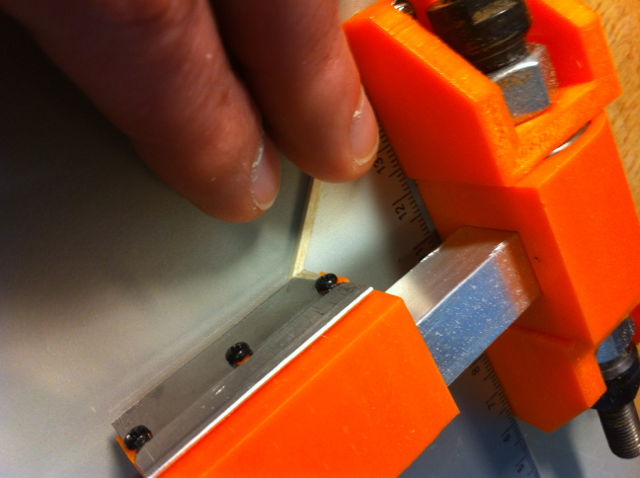
One thing I’m quite happy about is the blade holder. I didn’t plan it, but as it turns out the screws I’d intended to simply lock the blade holder to the handle can be loosened so that the holder can slide to any spot on the handle.
Being able to move the blade holder allows for a lot more versatility. I can cut parts at more extreme angles, or make cuts on wood that I wouldn’t normally be able to do because the blade is too close to the hinge.
Leaving the blade holder just loose enough to slide can allow me to use the chopper as a sort of radial arm saw. If I mount the blade so that one corner is slightly higher, I can make cuts that are longer than the blade itself.
For example, if the corner of the blade closest to me is raised, I can start a cut with the blade holder up against the hinge and pull towards me to make a perfectly square cut.
I was also planning on adding a straight edge up against the hinge similar to how I did it with my first iteration of this tool. But I’ve found I don’t need the straight edge. I’m usually just use a protractor to measure out the angles I need and tape or clamp an edge down.
I plan on designing blade holders that I can swap out as well. For example - I could have a blade holder that holds the blade at a 45 degree angle to the table. That’d allow me to make compound angle - one angle derived from the Z rotation of the part, the other derived from the X (or Y, I suppose) angle of the blade.
Want to make your own or improve upon my design?
Here’s a link to the source on Github. Here’s a link to the source and ready to slice STL files on Thingiverse.
I just happened upon a great looking DIY keyboard called the ErgoDox.
Scanning through this forum thread led me to Kurt Plubell’s version of the keyboard. Fantastic work.

At the first XOXO conference last year, Bre Pettis, CEO of Makerbot Inc. announced on stage that 24 hours from that moment he’d give away the demo printer he’d brought to the person who tweeted the best idea for what they’d print with the 3D printer.
Less then 24 hours later I’d tweeted hundreds of ideas.
I spent time talking to my kids about each idea, and coming up with new ideas. I was picky with the ideas - nearly all of them needed to be things you couldn’t just buy. They needed to have value of some sort. They needed to be useful, entertaining, or special in some way. I easily rejected 2 ideas for every 1 idea I tweeted.
I also told myself, rather naively, that if I won the printer, I’d print each idea and document it here. Telling myself that would help me ease the guilt of getting such a valuable thing for free, a thing that other people wanted and wouldn’t have because of my win.
Minutes before Bre was to take the stage someone hinted to me that I was the sure winner. They’d been sitting behind Bre earlier and caught sight of my name on his laptop. I was hopeful, but wouldn’t call me a sure thing until I had the printer in my hands.
Then Bre announced the winner of the demo machine.
It wasn’t me.
I was actually pretty sad. My kids were excited, hoping I’d win. I’d just been told it was a sure thing. I wanted to win if for no other reason than to make my kids happy, like their participation in the idea process paid off. Before I had time to dwell on the loss for too long though Bre said that he decided to award another person a machine.
“If only by sheer volume alone, Michael Buffington has won a Replicator as well.”
That’s when it happened. I vowed that I’d make good on my promise and print every idea I’d submitted.
Now almost a year later I’ve finally come around to making progress on that promise. Below is the list of ideas, each of which I plan on attempting to design and print (if someone else hasn’t done it already). Having had plenty of time to learn the art (and I do mean art) of 3D printing, I can promise that some of the ideas are nearly impossible. But I’ll try anyways.
Here’s my second try of building a Lego delta bot.
The idea here is to initially make sure the mechanics are sound by hooking the servos up to a receiver and moving them with a radio controller transmitter.
Once that’s tidy I’ll dig up the code I made for an earlier version of this bot (written for the Lego NXT brick) and adapt it for use with an Arduino. Eventually I want this bot to be able to stack pancakes as fast and as terrifying as these guys:
I have an obsession with input devices. This obsession is the driven by the idea that my fingers, arms, or hands will just stop working someday. It’s a totally rational fear considering that those body parts are essential for putting food on the table.
So when I see different kinds of keyboards or mice, I want them.
I want them badly enough that if I can’t have them, I make them.
Here’s an example of a work in progress that I call the Manta Ray.
It’s built with balsa and bass wood, a bunch of switches, a Blackberry trackball, a nearly microscopic joystick, and a Teensy 2.0.
There are a total of nine micro switches. The three visible on the top are intended to be used as “modifiers”. The idea, at least for now, is to use them as CTRL, ALT/OPTION, and COMMAND (I’m an OS X user, though I guess COMMAND would map to some Windows based key as well). They’re set close enough together so that I can press more than one at a time with just my thumb.
The six bottom switches are for chording. For chording, I looked at rolling my own system, a library called Chordite, and GKOS. I used GKOS in the end mostly because it just seemed to “stick”. I’m at the point now where I don’t need to lookup the chord for at least the entire alphabet, as well as a lot of punctuation. I’m not yet fast enough to have it replace a normal qwerty style keyboard but I’m getting there.
The joystick on the right is currently working as a mouse. Pressing in on the stick works for the left mouse click. At the moment, the joystick is so sensitive that mouse clicks are sloppy. It’s difficult to click without moving the mouse cursor. It’s likely that I’ll add a chord to work as a mouse click.
I just added the Blackberry trackball the other night and haven’t mapped it to any inputs yet. It’s likely that it’ll become the horizontal and vertical mouse scroll. I can also use it as an indicator since it has 4 programmable LEDs beneath. It’s also a button - I currently have it working as a left mouse click.
Eventually I’ll fill in all the gaps, making The Manta Ray look a lot more like a game controller than a wooden skeleton. Working with balsa and bass word has been great so far. The feel of the device is unique. It’s light, comfortable, and it’s strong. When it’s been fully fleshed out and carved/sanded to fit my hands more I think it’s going to work really well.
Is it possible that I forgot how to publish new words to this internet site?
Is it possible that last night I remembered how to publish new words to this internet site?
Yes, and yes.
New Gold Leaf’s Fluid CSS Grid System looks pretty useful.